
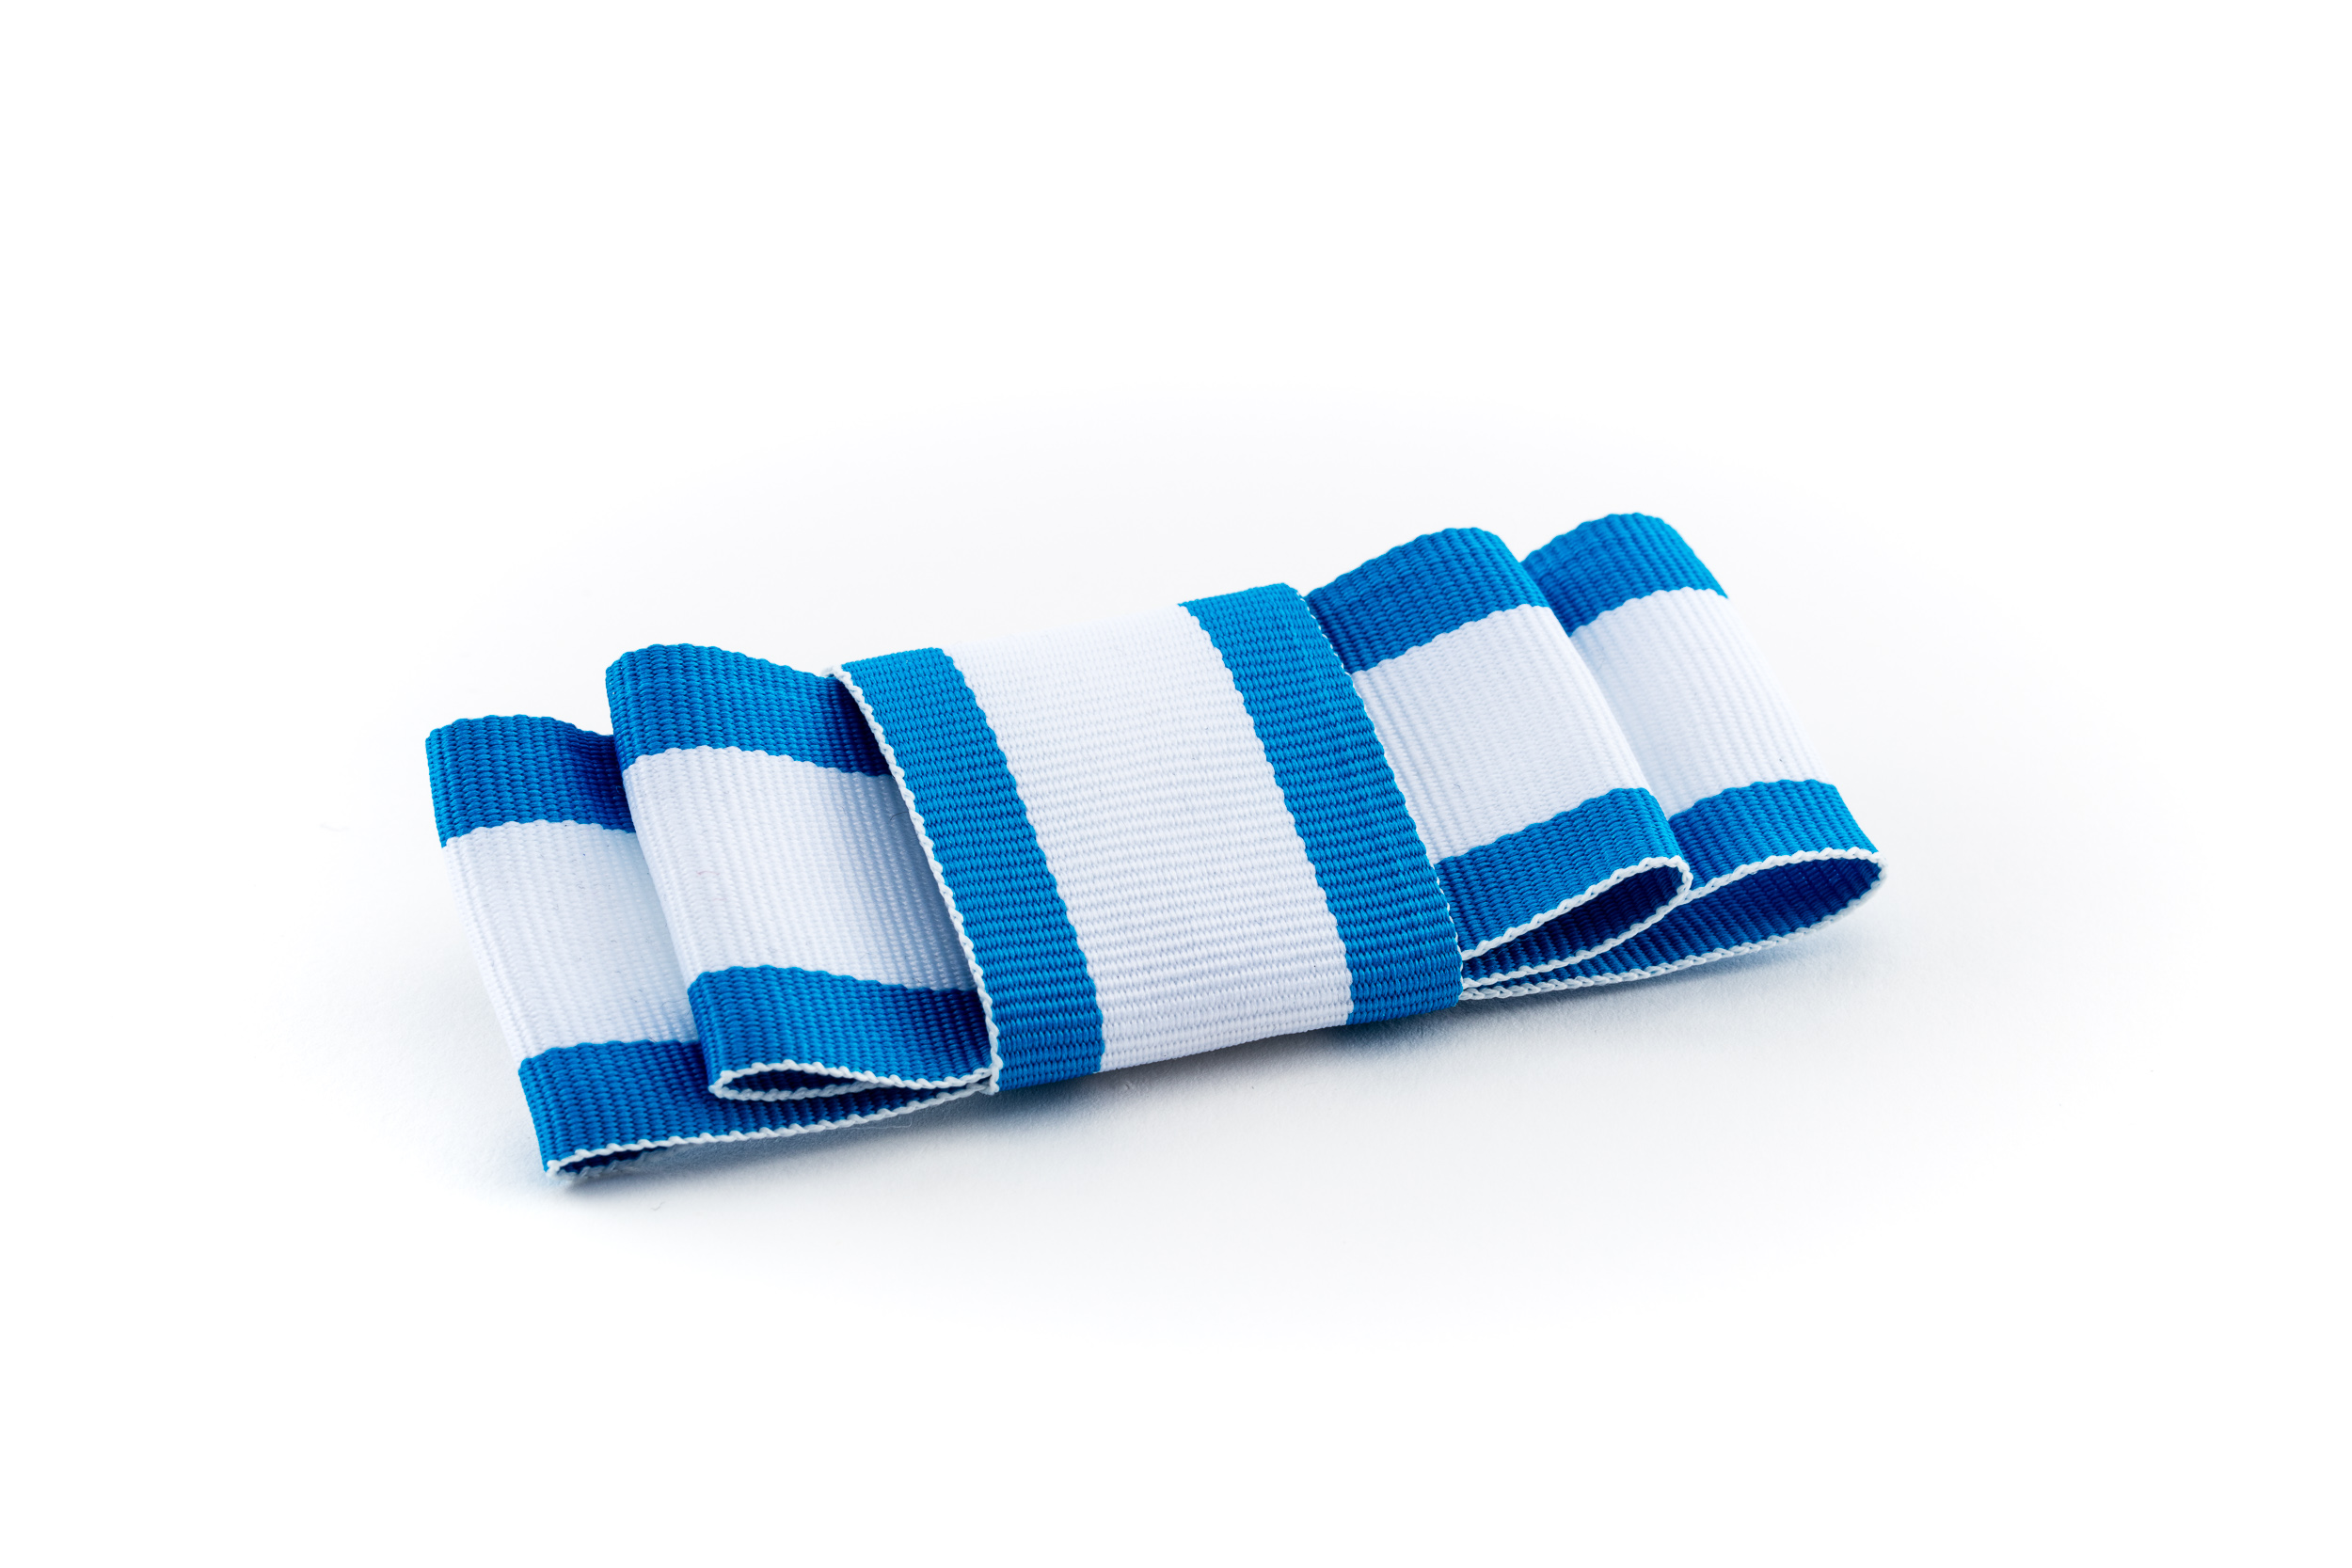
Kårband ladies 60cm
69 SEK
https://sites.google.com/marskalk.chs.chalmers.se/sve/vett-etikett/guide-till-frackband
- Pay securely by card or SWISH
- E-mail us, we reply swiftly!
Description
Article no.: 404848
Chalmers Student Union's coat-tails should be worn with formal attire, available at STORE. Section and possibly association idiosyncrasies are also usually worn, but an accepted rule is that a maximum of three tailcoats are worn at any one time. And the institution, section or association that the wearer values most is worn in descending order. Traditionally, the Chalmers coat tails are worn first, followed by the section, followed by any committee you are or have been on at the time.
Coat-tails for tailcoats
The coat-tail is attached to the shirt chest under the coat waistcoat, sloping from the right shoulder to the left waist. The strap is usually 50cm long.
Attaching the coat-tails to each other and the coat can be done in a few different creative ways. Under the link below is an example of how this can be done;
Demonstration video for attaching coat-tails to coats
The coat-tail is attached to the shirt chest under the coat waistcoat, sloping from the right shoulder to the left waist. The strap is usually 50cm long.
Attaching the coat-tails to each other and the coat can be done in a few different creative ways. Under the link below is an example of how this can be done;
Demonstration video for attaching coat-tails to coats
Tails for ball gowns
A dress is worn with tails in the form of a so-called bow. The bow is attached on the left side, close to the heart, but should be fastened in such a way that it does not touch bare skin. As the placement of medals also follows this rule, it is also possible to attach the bow at the left hip . The ribbon is usually 60cm long. Below is a video on how to attach a bow;
Demonstration video for attaching the bow to the dress
Folding the bow
Thebow should be 9 cm wide on the outside and 7 cm wide on the inside. However, the most important thing is that all the ties are the same width. Start by putting one end of the ribbon in what will be the middle. Leave the whole ribbon to the left from the middle. Fold the ribbon to the right after 4.5 cm. Then fold the ribbon to the left after 9 cm. Now the outer bow is created. Fold the ribbon to the right again after 8 cm and then back to the left after 7 cm. Now the inner bow is created. The next step is to fold the ribbon 90 degrees upwards and then wrap it one or two turns around the whole bow. If a pin belongs to the coat-tail, this is attached to the centre of the bow and holds the whole bow together. Depending on what you like, you can iron the folded edges so that the bow is flat. To keep the bow nice and not falling apart, you can easily sew the edges together. Attach the bow to the dress with a safety pin or sew it on.
Thebow should be 9 cm wide on the outside and 7 cm wide on the inside. However, the most important thing is that all the ties are the same width. Start by putting one end of the ribbon in what will be the middle. Leave the whole ribbon to the left from the middle. Fold the ribbon to the right after 4.5 cm. Then fold the ribbon to the left after 9 cm. Now the outer bow is created. Fold the ribbon to the right again after 8 cm and then back to the left after 7 cm. Now the inner bow is created. The next step is to fold the ribbon 90 degrees upwards and then wrap it one or two turns around the whole bow. If a pin belongs to the coat-tail, this is attached to the centre of the bow and holds the whole bow together. Depending on what you like, you can iron the folded edges so that the bow is flat. To keep the bow nice and not falling apart, you can easily sew the edges together. Attach the bow to the dress with a safety pin or sew it on.
Demonstration video for folding a bow
Demonstration GIF [from Turku Academy]
Guide with pictures [from Turku Academy]